4. **Strain the curds**
Line a colander with cheesecloth or a clean kitchen towel. Pour the curdled milk through the colander to drain the whey. Gather the edges of the cloth and gently squeeze out the excess liquid.
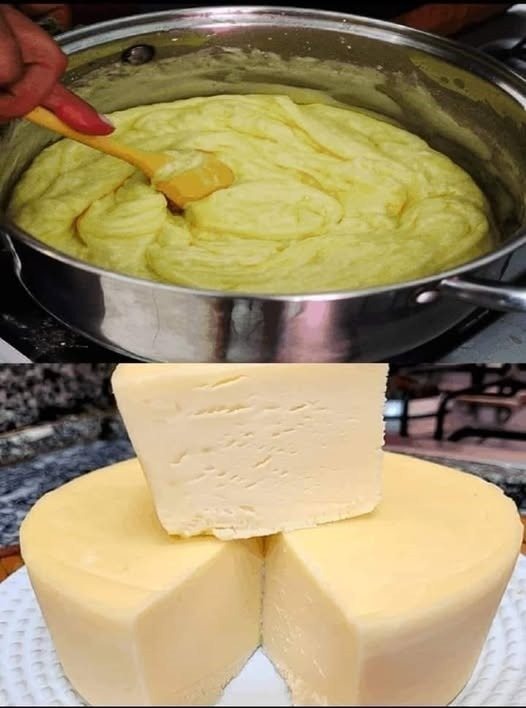
5. **Season and shape**
Pour the curds into a bowl. Salt to taste and mix gently. For a firmer consistency, you can press the cheese by wrapping it in the cloth and placing a weight on top for a few hours.
6. **Delicious meal!**
Your fresh homemade cheese is ready to enjoy. It is perfect for spreading on bread, crumbling over salads or mixing into recipes.
Tips and Variations:
* **Milk Choice:** Using raw or pasteurized milk (not ultra-pasteurized) will produce the best curds.
* **Flavoring:** Mix in herbs, garlic, or spices to customize your cheese.
* **Storage:** Store your cheese in the refrigerator and consume within a week for optimal freshness.
### Final Thoughts
Homemade cheese is an easy and satisfying project that brings the rich flavor of fresh dairy to your table. With just a few basic ingredients and utensils, you can create your own delicious cheese anytime. So why not try it and taste the difference of homemade goodness?
If you’d like, I can help you create variations or suggest recipes using your homemade cheese! Would you like that?
