🫙 Method 1: Preserving Chilies with Cooking Oil and a Plastic Bottle
This traditional yet highly effective method helps chilies stay fresh for up to six months without drying out or spoiling.
Step 1: Let the Chilies Dry Naturally
After buying your chilies, spread them out in a basket or on a mesh tray and let them air-dry for several hours until the surface is completely dry.
👉 Avoid washing them before storage — moisture on the skin or stems encourages mold and rot. Remove any damaged or wilted chilies.
Step 2: Trim the Stems
If the stems are long, use clean scissors to trim them slightly, leaving just a short piece attached to the fruit.
Don’t remove the stems entirely — they act as a natural barrier that prevents bacteria from entering the fruit. However, stems that are too long can scratch other chilies and cause bruising.
Step 3: Coat the Chilies with Cooking Oil
Place the dried chilies in a clean bowl and drizzle a small amount of vegetable or olive oil over them. Gently toss until each chili is lightly coated.
The thin oil layer locks in moisture, preventing the peppers from drying out. It also creates a natural barrier that slows down oxidation and spoilage.
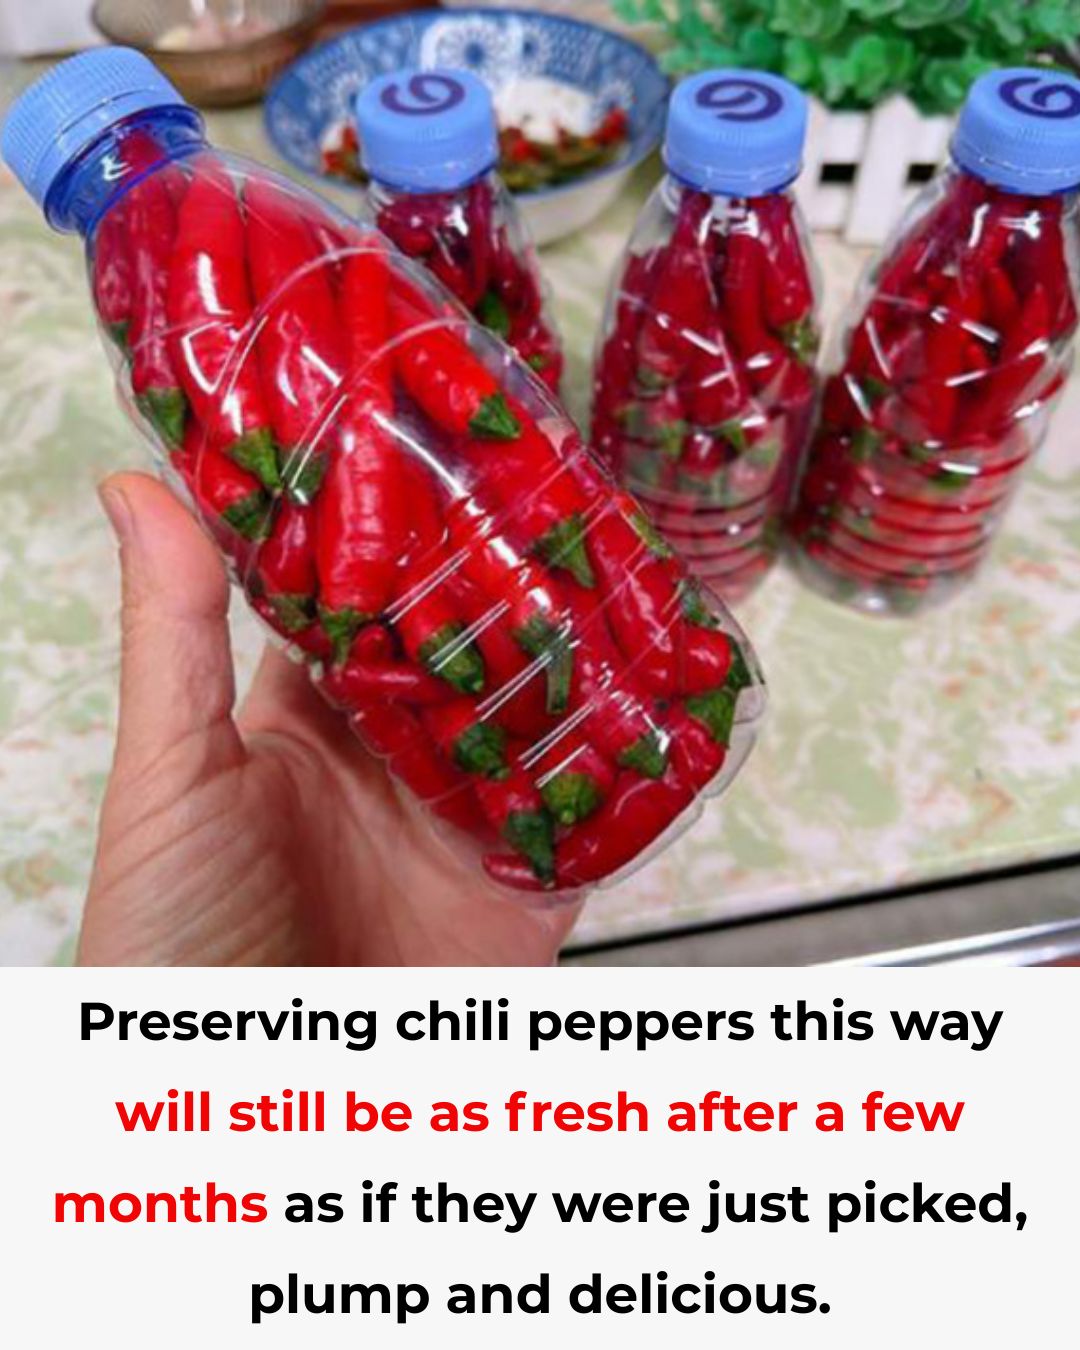
Step 4: Store in a Plastic Bottle
Transfer the oiled chilies into a clean, dry plastic water bottle or similar container. Seal the lid tightly and store it in the refrigerator’s main compartment (not the door).
This method keeps the peppers fresh and glossy for months — even after 4–6 months, they’ll look as vibrant and firm as the day you bought them.
💡 Tip: Every few weeks, gently shake the bottle to redistribute the oil and check for any spoiled chilies (though this rarely happens if stored properly).
